Friday 30 November 2012

Environment Garden Final Renders


Environment Pipeline

3D Model with Paint Effect Trees


Wire Frame


3D Model and Wire Frame with Paint Effect Trees


Textures Unrendered


Beauty Pass


Ambient Occlusion Pass


Final Render - Beauty and Ambient Occlusion Pass

Environment Lighting

It's fair to say lighting has been a bit of a struggle!!! However, over the course of 5 days I'm finally satisfied with it! Below shows my progression and problems from start to finish.

This is how it started ... not my finest work! I'm not even going to explain what this is, except the sun looks as if I added it in Paint!!
 

Moving on ....
 
Progressing without the environment and sun I lighted the set with a series of 'soft' spot lights to create a 'warmth'.


However, I need to include the sun and an environment so I restarted the lights from scratch and added a directional light, area light and a few spot lights. The main problem encountered was the shadows casted by the tree paint effects. Below is a diagrams explaining which settings created the effects. It was a mixture of these settings and the conflicted lighting causing several types of shadows.  


Changing the settings on the paint effects allowed them to cast a soft, realistic shadow, but altered the quality of the trees, hence when rendering I'd have to render on two different layers and then over lay the trees onto the correct shadow cast. I experimented with this and found the final images a little 'clunky' so I restarted the lighting for the last time.
 

The settings below gave a soft shadow, but not 100% realistic shadow castings. On artistic purposes I pursued with this lighting and shadow settings. I was concerned about the tree that is closest to the house, as when the shadow was cast the washing line looked like it was floating!! Hence, I created a poly tree under the paint effect one to cast a shadow. Below the diagram shows the settings for the final lighting.   


Final Lighting Renders


Below is a colour test for the environment shader.
 

Thursday 29 November 2012

Environment UV Mapping and Texturing Progression

So here's what I've neglected to post for the last week, very stressful and taxing, but hopefully rewarding now. I’ve fully UV mapped and textured the 3D model of the environment, including paint effects. The props are also UV mapped and textured. The textures are soft and paintly to add to the atmosphere, quite a large number are hand painted. I tended to use real material images for the bump map to give it a contrast between art and real life. Below are the results. The lighting scene within the imagery is basic and is just used to give a soft atmosphere.


All texture Colour Maps and Bump Maps
UV Mapped scene with Paint Effect trees
(Below) 
UV Mapped tiles and Washing Line - using NCloth for items on the line
 (Below)
Texture Progression


Base house textures and wooden beams
Tiles Texture Test
(Below)
Grass Texture - Bump Map testing


Charles's Toys UV Mapped

Final Textures - Colour and Bump Maps
(Below)
All Props (left) and Alphabet Blocks (right)


Alphabet Blocks
(Below)
Jack In the Box (left) and Spinning Top (right)


Train Final Render


Wednesday 28 November 2012

Unit 7: Narrative - Charles - Pipeline/UV Layout & Final Render

Hello Everyone,

Here I come with another little update on Smoke Stack Studios "Ashen Bloom" animated short. With Pre-viz somewhat finalised and the scenes being lacquered with polish I decided to take some time away from my rigging spree just to post up my texture development of 
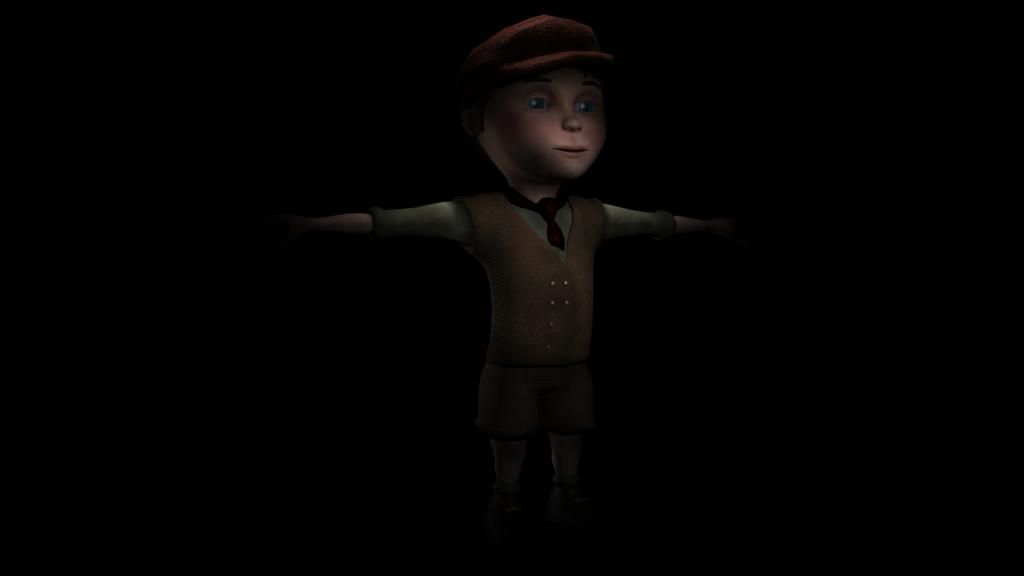
"Charles" our special little star. Its been a long journey with lots of mapping tweaks and even though I didn't get it completely right I think it works and is more neatly laid out then I thought originally.


I have started looking into a few pages for our future art of book (not invested yet mind you) but the layout has been considered since we did the green light so I have some idea where this will go. I have created a number of light and texture passes on top of my UV layout textures all of which are present in this post. I ended up clipping them together instead of considering html coding I just thought I could design it better this way...


The image above shows my UV, 50/50 (Dif Opac + UV) Standard Diffuse, and Normal. The normals will probably be a little hard to see because I had to mute most of them because the edges of some of my shapes were waaaaaaaaaaaaaay too strong. There is also a rather annoying little bit of stretching on the jacket (something I didn't notice when painting DOH). Still I'm glad the UV Layout looks pretty neat which is a great thing to understand now (it really bugged me for Agebook). Now I can do my fussy thing with UVs by laying them out neatly lol...


Next I performed a few render passes just to have something of a pipeline for Charles himself. The silhouette pass I thought was a pretty cool thing to have here especially considering our discussions with Justin so I thought it couldn't hurt to appreciate Charles looking unique in silhouette. The basic pass is just using a lambert shader with lighting, added the normals and occlusion had their own individual importance. Again if you cannot see the normals you will have to look close I had to mute them because they were coming out too strong.


Last but not least came the diffuse/normal with lighting pass I decided to place the UV layout across the entire model to showcase the placement of seems etc. I felt this added a little something to the completion of this post. I felt as though there were a few boxes to be checked in this department and seeing as clients love to see the ins and outs of their commissions. I'd like to think they'd get a kick out of seeing what the character is besides a load of polygons.


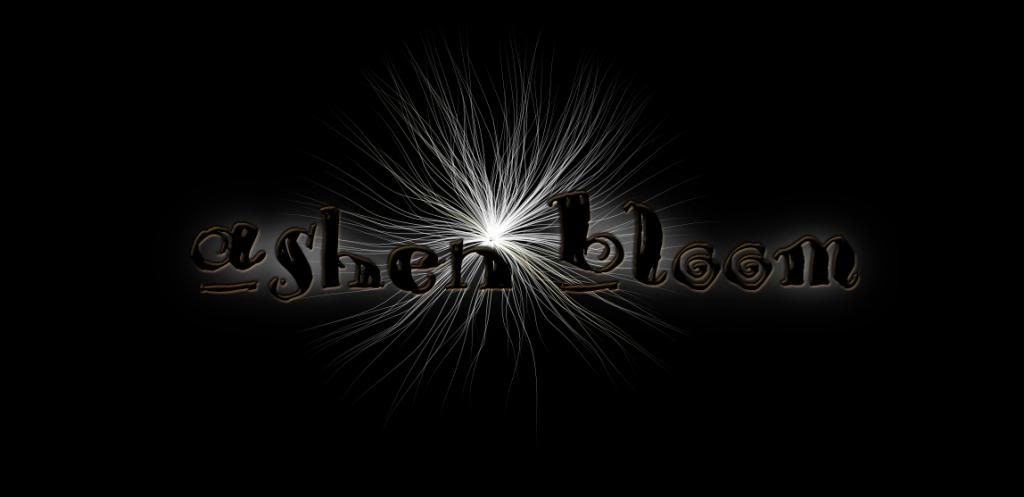
To conclude I decided to post up the tag for our animated short, I will probably be using this throughout our entire art of it just works. I will probably have to ask Lydia to give me a background less version of the flower. Things are getting a little tiresome screening this flower over the top of textures etc. Anyway onwards and upwards from here I am going back to rigging as soon as this post is done and dusted.

Hope everyone is having fun out there, we will have to see what Alan thinks of our progress now at tomorrows tutorials (our second to last). Hope it all goes well and I hope this development will clear the need for more texture development the time is here to get down to ANIMATION!!

Catcha ladle!

Over & Out,
xXStItChXx

Unit 7: Narrative - Props Concept

These are the objects that will be in the garden and factory scenes. To allow a smooth transition, I have tried to make the objects similar in size and in some cases, shape e.g. the train and scrubbing brush.

Monday 26 November 2012

Unit 7: Narrative - Factory Pipeline

The second of the two scenes has now been entirely modelled and textured, and is ready to be lit. The pipeline is shown below. The next stage is to add lighting and smoke to really create some atmosphere within the factory.

Untextured

Wireframe

UV Mapped

Final Textured (unrendered)